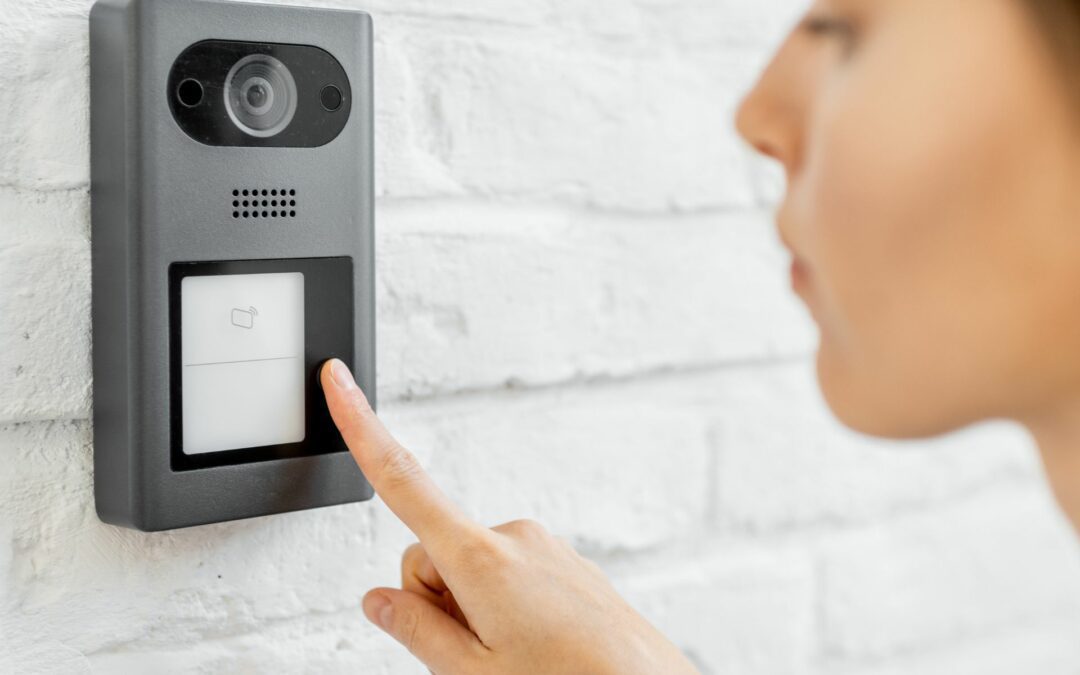
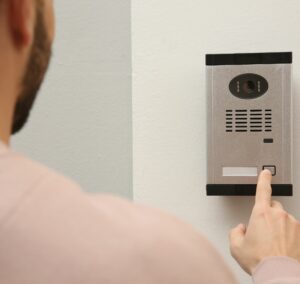
When it comes to keeping your home and workplace secure, it’s nice to know who is entering before they even set foot inside. Luckily, intercom systems make this possible. With these systems, you can determine who is trying to enter your residential or commercial property by hearing or seeing who they are before granting entry.
Plenty of brands also sell intercom systems that can fit whatever the security needs are for your property. The question is, how do you install and maintain your intercom systems? Continue reading this blog to learn all about intercom systems installation and maintenance.
How To Install An Intercom System
When it comes to installing intercom systems, ensure that you follow these steps for the best results.
1. Determine What Kind Of Intercom System You Want
You’ll first need to determine what kind of intercom system you want for your home or business. Do you want an audio-only or video-only intercom system? Do you want an intercom system that uses both audio and video? Consider what makes the most sense for your property before researching specific brands and models.
2. Figure Out The Installation Location
Once you know what kind of intercom system you’ll be getting, find the best location to install it. If you’re installing an intercom system for the first time, you’ll need to ensure that the location is in proper condition for it to be installed. The last thing you want is any debris getting in the way of setting up this new security feature.
3. Read The User Manual And Install The Intercom System
Every intercom system is different, so follow the appropriate user manual for specific instructions. With the user manual, you’ll know which tools you’ll need to obtain, how to connect the wiring, and how to go about connecting this system to any additional devices. After mounting your intercom system, this process has one more step left.
4. Test It Out
With the help of your user manual, you’ll want to give your new intercom system a test run. If it seems to be working as expected, you can consider the installation successful. If there are issues during testing, try out any troubleshooting methods outlined in the user manual. For this reason, having a second person with you is a good idea to install the intercom system.
Maintaining Your Intercom System
Now that you have a general idea of what installing intercom systems entails, you’re ready to learn about maintaining intercom systems. Get started with some of these intercom system maintenance tips.
1. Check The Warranty
Before proceeding with any DIY intercom maintenance, check the warranty. You don’t want to unwittingly violate it by doing your own maintenance or repairs on it. After checking it, you may either proceed with the following tips or reach out to a professional to maintain and repair it for you.
2. Cleaning Debris
One of the simplest ways to maintain your intercom system is to check the outside unit for any dust or debris. By cleaning it occasionally, you can prevent dust from interfering with your intercom system in small ways.
3. Inspecting The Wiring
If you’re able to, you can examine the state of the wiring of the outside unit of your intercom system. See if the wires are in good condition or if they are frayed or broken. For your safety, we recommend reaching out to a professional to repair the wiring for you.
Keep Your Intercom Systems In Check With United Locksmith!
Intercom systems are a great way to beef up your home or business’s security. However, you can’t just rely on an intercom system alone. You should also ensure that your locks are in working order. Luckily, all you need to do is contact us at United Locksmith to keep your locks in order and ensure your intercom systems are working properly.